The White Desert at Sunrise and Sunset: A Photographer's Guide to Perfect Timing
If you travel to the White Desert with a camera, you already know there is no bad light here. The chalk formations transform under every kind of sky: from dazzling white at midday to deep amber, and from cobalt blue at twilight to moonlit silver. But two windows of the day are truly magical: sunrise and sunset are when most of the White Desert's iconic photographs are captured.
The question every visiting photographer asks is simple: which is better, sunrise or sunset?
The honest answer: both are entirely different. Each offers shots the other simply cannot deliver. This is the practical guide we share with the photographers we host: when to shoot, where to position yourself, what gear matters, and the specific shots unlocked by each window.
Quick Verdict: Sunrise or Sunset?
- Sunset wins on color drama: The chalk absorbs a richer amber, orange, and rose palette than it does at sunrise. Most postcard-quality White Desert photographs are sunset shots.
- Sunrise wins on stillness, solitude, and air clarity: Winds are consistently lighter in the morning, the camp is quieter, and you will typically have the formations entirely to yourself.
- Both win together: Professionals overnight in the White Desert specifically to shoot both windows, and this is our primary recommendation for any serious photographer.
Bedouin Trails Tip: The most photogenic light in the White Desert is actually 15–25 minutes before sunrise and 10–20 minutes after sunset — the blue hour. Most travelers leave far too early in the evening. Stay until the sky turns a deep cobalt blue; the chalk shifts to a cool silver-blue against it. It is the most under-photographed light in the desert.
What Sunrise Looks Like in the White Desert
Sunrise begins long before the sun crests the horizon. About 30–40 minutes before sunrise, the eastern sky shifts from black to deep blue and then into a subtle pink-to-sky-blue gradient. The chalk formations, still in shadow, glow faintly and appear almost luminous against the deep sky background.
Then the first direct beam strikes. Because the sun rises low at an acute angle, it backlights and side-lights the formations with dramatic intensity. Long shadows stretch across the sand. Winds are usually calm at this hour — ideal for razor-sharp compositions.
The light becomes harsh quickly. About 45–60 minutes after sunrise, the sun is high enough that the morning magic is over for the day. Plan to conclude your shoot and return to camp by 7:30 AM in winter, or 6:30 AM in spring and autumn.
Best Sunrise Shots
- Mushroom silhouettes: Set against the soft pink dawn sky.
- Side-lit chalk towers: Casting long, defined shadows stretching across pristine sand.
- Low-angle wide compositions: Emphasizing the natural curvature and sculpted base of formations.
- Close-up detail shots of chalk textures: The chalk surface reveals magnificent detail under raking side light.
- Time-lapses: Capturing the dramatic color shift from the blue hour into the first golden light.
What Sunset Looks Like in the White Desert
Sunset is the more famous and dramatic of the two windows. It is also busier; most day visitors from Bahariya make sunset their top priority, arriving between 4:30 PM and 5:30 PM.
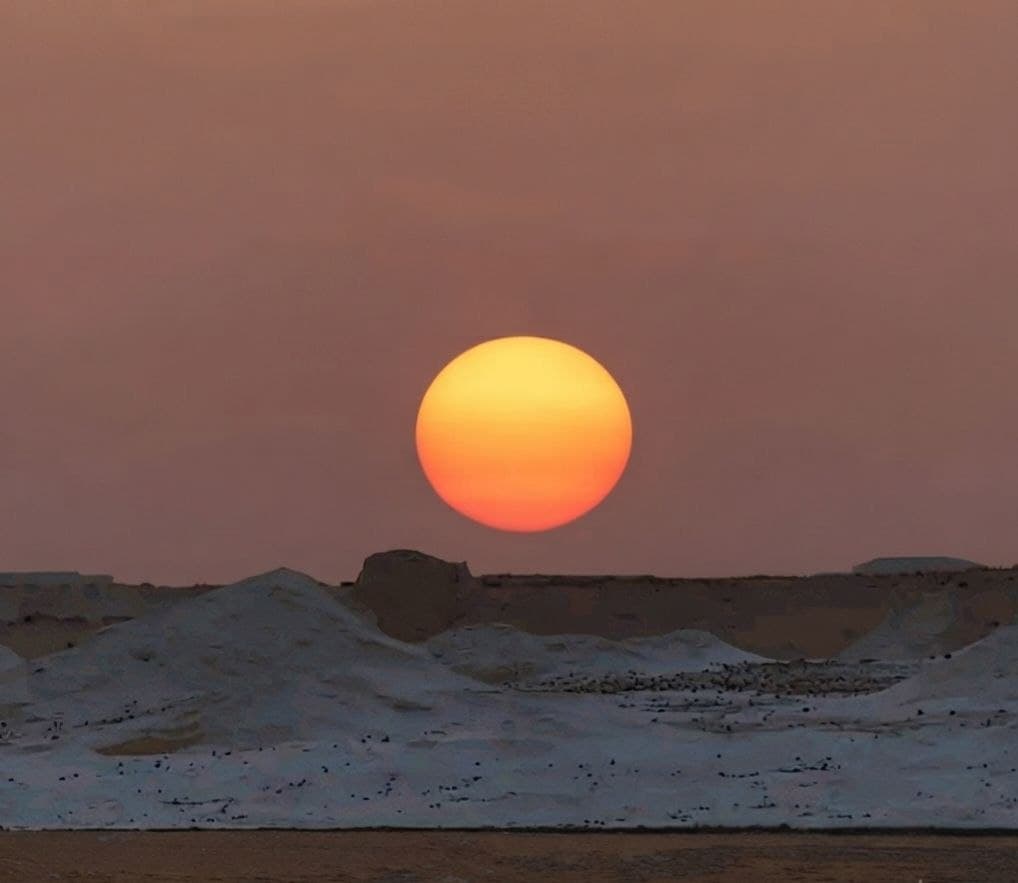
The color show begins roughly 45 minutes before sunset. The chalk sculptures shift from a warm cream to gold, and finally into a deep amber bordering on blood orange as the sun nears the horizon. Shadows lengthen and sharpen with knife-edge precision. Distant formations soften into atmospheric haze, while foreground rocks appear to glow from within.
After the sun dips below the horizon, the real magic starts. The chalk retains light for several minutes after sunset, glowing softly as the backdrop darkens. Around 10–20 minutes post-sunset, the chalk takes on a cool silver-blue hue against an inky, deep navy sky — arguably the most overlooked lighting of the day.
Best Sunset Shots
- Wide hero shots: The sun touching the horizon perfectly framed between towering rock formations.
- Silhouettes of isolated inselbergs: Backlit by a fiery orange and crimson sky.
- Extended shadows: Stretching hundreds of meters across the dunes at the exact moment the sun touches the rocks.
- Blue hour chalk landscapes: Against rich cobalt and navy skies, captured 10–25 minutes after sunset.
- Low-angle mushroom formations: Framing the dramatic sky across the top half of the composition.
Where to Position Yourself
The quality of your shot depends just as much on positioning as it does on the light. Here are the core principles we share with every photographer:
- For sunrise: Position yourself to the east of a formation cluster, facing west; the rocks will be dramatically side-lit and partially backlit. Move quickly between subjects, as the light shifts within minutes.
- For sunset: Position yourself west of the formations, looking east, but keep a secondary setup ready facing west into the setting sun. Both directions offer extraordinary value.
- For the post-sunset blue hour: Elevation is key. Climb a low sand dune or sit close to the ground to isolate the foreground; the color contrast between sky and chalk becomes the entire image.
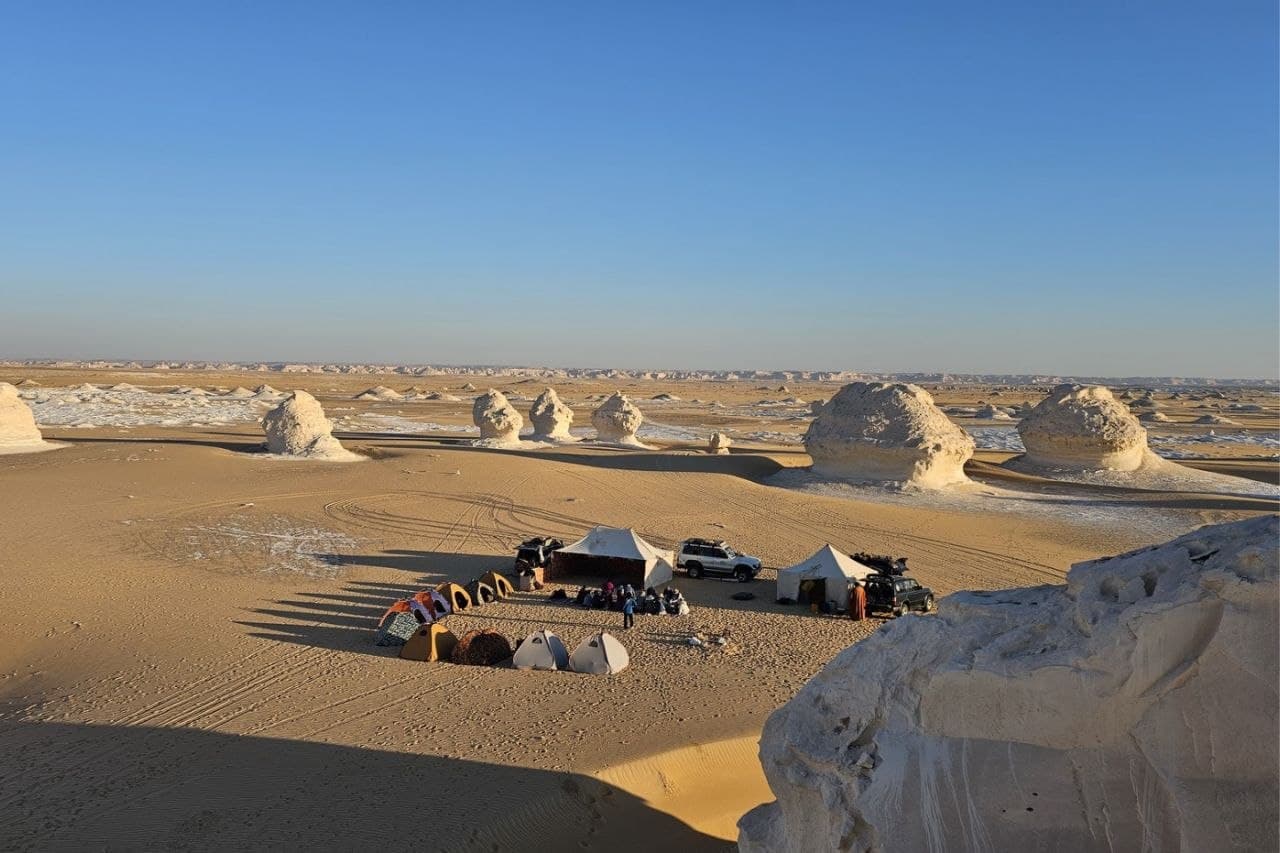
- Avoid main tourist trails: A guide who intimately knows the desert can place you in undisturbed clusters far off the standard tracks. This is one of the greatest advantages of traveling with a private operator like Bedouin Trails.
Camera Gear: What Really Matters
Camera and Lenses
- Any camera with full manual exposure control: The extreme desert dynamic range does not reward automatic modes.
- Wide-angle lens (16–35mm equivalent): Essential for capturing vast formation landscapes integrated with expansive skies.
- Standard zoom lens (24–70mm): The versatile workhorse for general landscape framing.
- Telephoto lens (70–200mm): Invaluable for compressing distant formations and isolating abstract rock features.
Essentials
- Sturdy tripod: Non-negotiable for the blue hour, low-light dawn exposures, and night astrophotography.
- Circular Polarizer (CPL): Cuts atmospheric haze and enriches deep sky saturation.
- Soft 2-stop Graduated ND filter: Helpful for balancing bright horizons against darker chalk foregrounds during sunrise and sunset.
- Lens cloth + rocket air blower: Ultra-fine chalk dust settles everywhere.
- At least 2 spare batteries: Cold desert nights drain battery capacity far faster than expected.
- Ample memory cards and RAW shooting: The desert's extreme dynamic range demands RAW data for proper post-processing.
What You Do Not Need
- Heavy studio lighting rigs.
- Multiple flash units: The natural desert sky is your light source.
- Unpermitted drones: Drone flights are strictly restricted inside the National Park; confirm regulations with your operator beforehand.
Working with the Light: A Typical Day
Here is what a dedicated photography day in the White Desert looks like with our team:
- 05:30: Wake up, fresh campfire coffee.
- 05:45 – 06:00: Walk to the first sunrise shooting location (scouted with your guide the previous evening).
- 06:00 – 06:25: Blue hour foreground compositions, tripod deployed, long exposures.
- 06:25 – 07:00: First golden light captures as the sun breaks over the horizon.
- 07:00 – 07:30: Moving across 2–3 nearby clusters as the light intensifies.
- 07:30 – 10:00: Breakfast, rest, and initial image review/light editing.
- 10:00 – 14:00: Midday reading or shade nap; direct sunlight is too harsh for landscape photography.
- 14:00 – 16:00: 4x4 transit to a new formation area, scouting spots for the upcoming sunset.
- 16:00 – 17:00: Positioning, setting up tripods, and test-framing compositions.
- 17:00 – 17:45: Golden hour shooting with both wide and telephoto lenses.
- 17:45 – 18:15: Sunset itself; blue hour begins immediately after.
- 18:15 – 18:45: Keep shooting; the chalk continues to glow. The finest blue hour tones emerge now.
- 18:45 – 22:00: Camp, hot dinner, and astrophotography setup if conditions allow.
- 22:00 – 02:00: Milky Way and star trails (optional for dedicated night photographers).
Best Months for White Desert Photography
- Best (December, January, February): The sun stays low across the horizon all day, shadows are long and dramatic, skies are crystal clear, and camping conditions are crisp and dry.
- Excellent (November, March): Slightly higher solar elevation and marginally hazier air, but still exceptional for photography.
- Good (October, late April): Higher daytime temperatures and shorter golden hour windows, but completely workable.
- Avoid (May – September): The sun is high overhead for most of the day, heat haze degrades sharpness, and severe daytime heat makes dedicated fieldwork exhausting.
Where to Camp for the Best Shots
Camp location is vital for landscape photography. Two factors are paramount:
- Proximity to formation clusters: Camping in a sheltered spot near (but not directly inside) a primary cluster allows direct walking access at dawn and dusk. Lengthy drives to shooting locations waste precious light.
- Open sky exposure: Some campsites sit in deep depressions with restricted horizon views. For astrophotography especially, you need an expansive, unobstructed 360-degree view.
Bedouin Trails pitches camp at private, carefully selected locations optimized for photographic access. We position you perfectly for both shooting windows. Standard day-trip operators do not have this advantage: they drive you in, let you shoot for an hour, and drive you out before the best light even develops.
FAQ
Is sunrise or sunset busier in the White Desert?
Sunset is significantly busier because day-trip tour groups prioritize evening light. Sunrise, by contrast, is almost always quiet and solitary since few casual tourists wake up early. If you want unobstructed rock compositions without crowds, sunrise is far superior.
Can I fly a drone in the White Desert?
Drone operations within the National Park are strictly regulated and require special official permits. Some tour operators can handle administrative logistics, but you must verify permissions beforehand. General travelers should never assume recreational drone flying is permitted.
What is the single most photographed formation?
While individual preferences vary, the iconic Mushroom and Chicken rock and the Aqabat valley region are consistently the most popular subjects. Isolated inselbergs and towering monoliths are equally iconic. An experienced Bedouin guide can lead you to lesser-known, stunning rock clusters far from typical tourist stops.