
Tour por Siwa Oasis — Guía Completa de Safari y Viaje por Egipto
Siwa Oasis es el destino desértico más remoto y fascinante de Egipto — una exuberante isla de palmeras, manantiales de agua dulce y cultura bereber situada a 50 km de la frontera con Libia, rodeada por el vasto Sahara. Conocida por el antiguo Oráculo de Amón que Alejandro Magno consultó en 331 a.C., Siwa ofrece hoy a los viajeros una rara combinación de arqueología, belleza natural y aventura en el desierto. Un tour por Siwa Oasis desde Cairo es un viaje a un mundo aparte.
¿Por Qué Visitar Siwa Oasis?
Siwa Oasis se encuentra en la Depresión de Siwa, 18 metros por debajo del nivel del mar, rodeada por el Gran Mar de Arena al sur y la Depresión de Qattara al norte. Su aislamiento preservó una cultura bereber única, la lengua siwi y tradiciones arquitectónicas que no se encuentran en ningún otro lugar de Egipto. Los visitantes acuden por la experiencia en capas: ruinas antiguas, lagos salados curativos, las dunas de clase mundial del Gran Mar de Arena y la posibilidad de dormir en silencio total bajo un dosel de estrellas.
Principales Atractivos de un Tour por Siwa Oasis
- Templo del Oráculo de Amón — El templo del siglo VI a.C. donde Alejandro Magno buscó la confirmación divina de su destino — uno de los sitios oraculares más famosos de la antigüedad
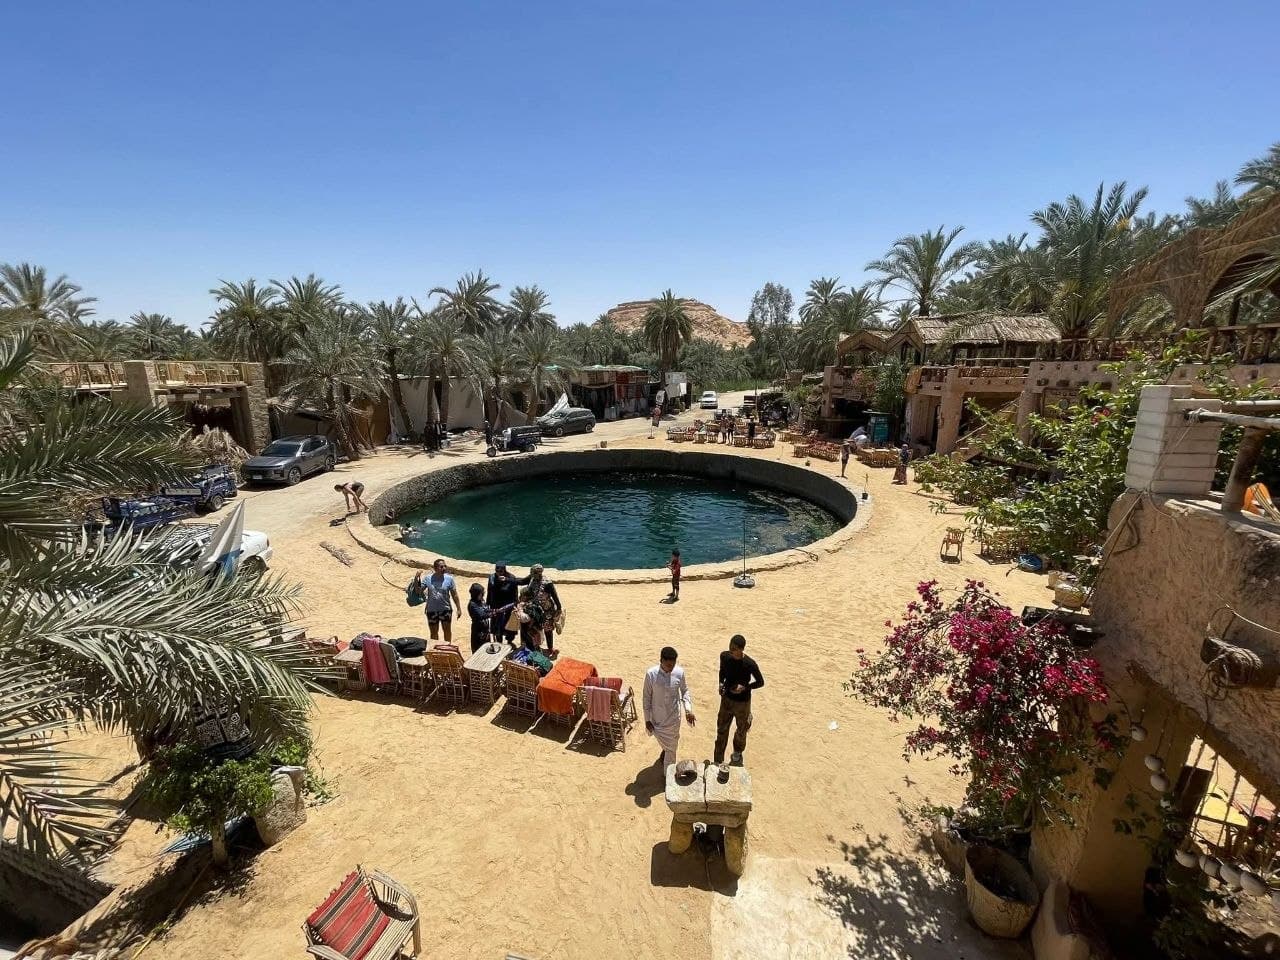
- Fuente de Cleopatra (Ain Guba) — Un manantial de agua dulce natural donde puedes nadar en aguas cristalinas y ligeramente efervescentes en medio del desierto
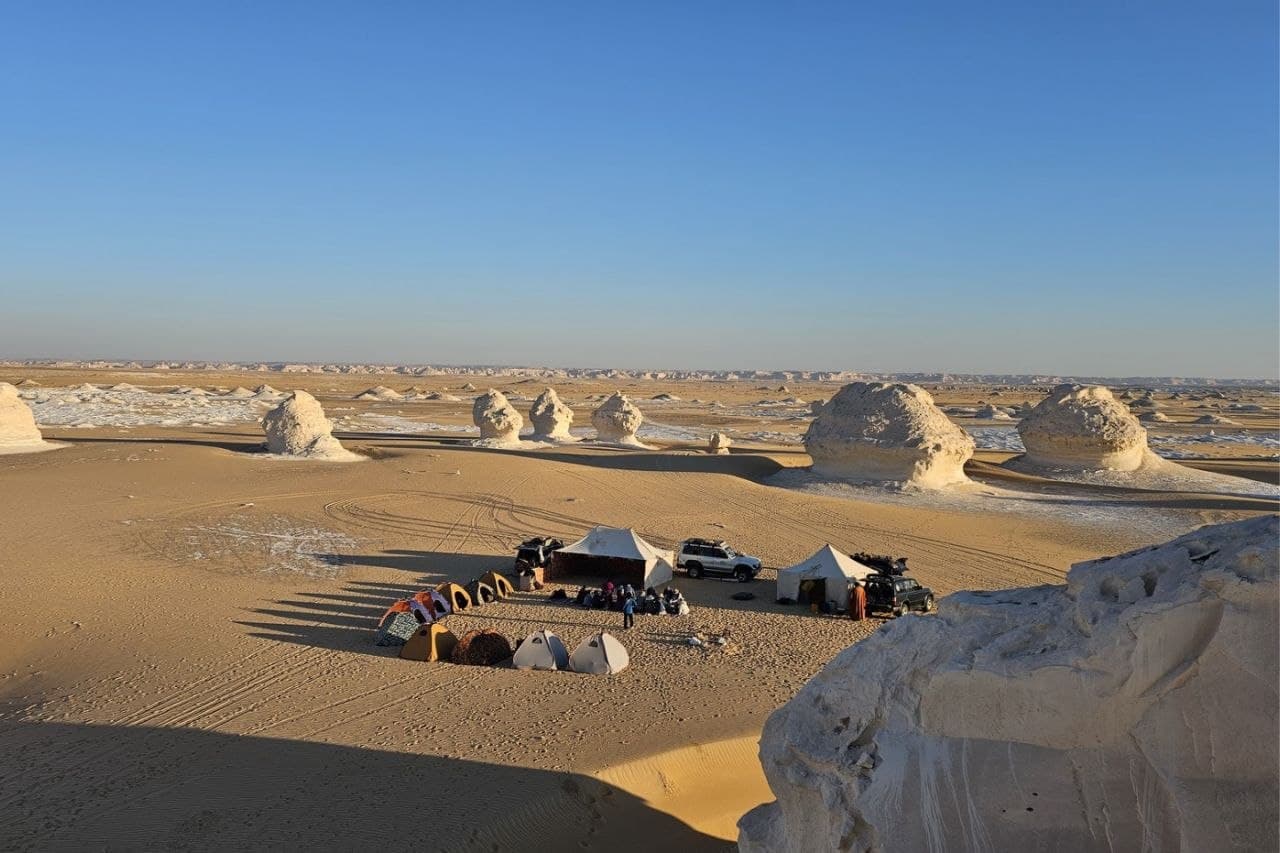
- Safari por el Gran Mar de Arena — Dune bashing y sandboarding por uno de los mayores mares de arena del mundo — un océano de dunas doradas que se extiende hasta Libia
- Fortaleza de Shali — La antigua ciudadela de adobe en el corazón de la ciudad de Siwa, hoy parcialmente en ruinas pero de una belleza inquietante al atardecer
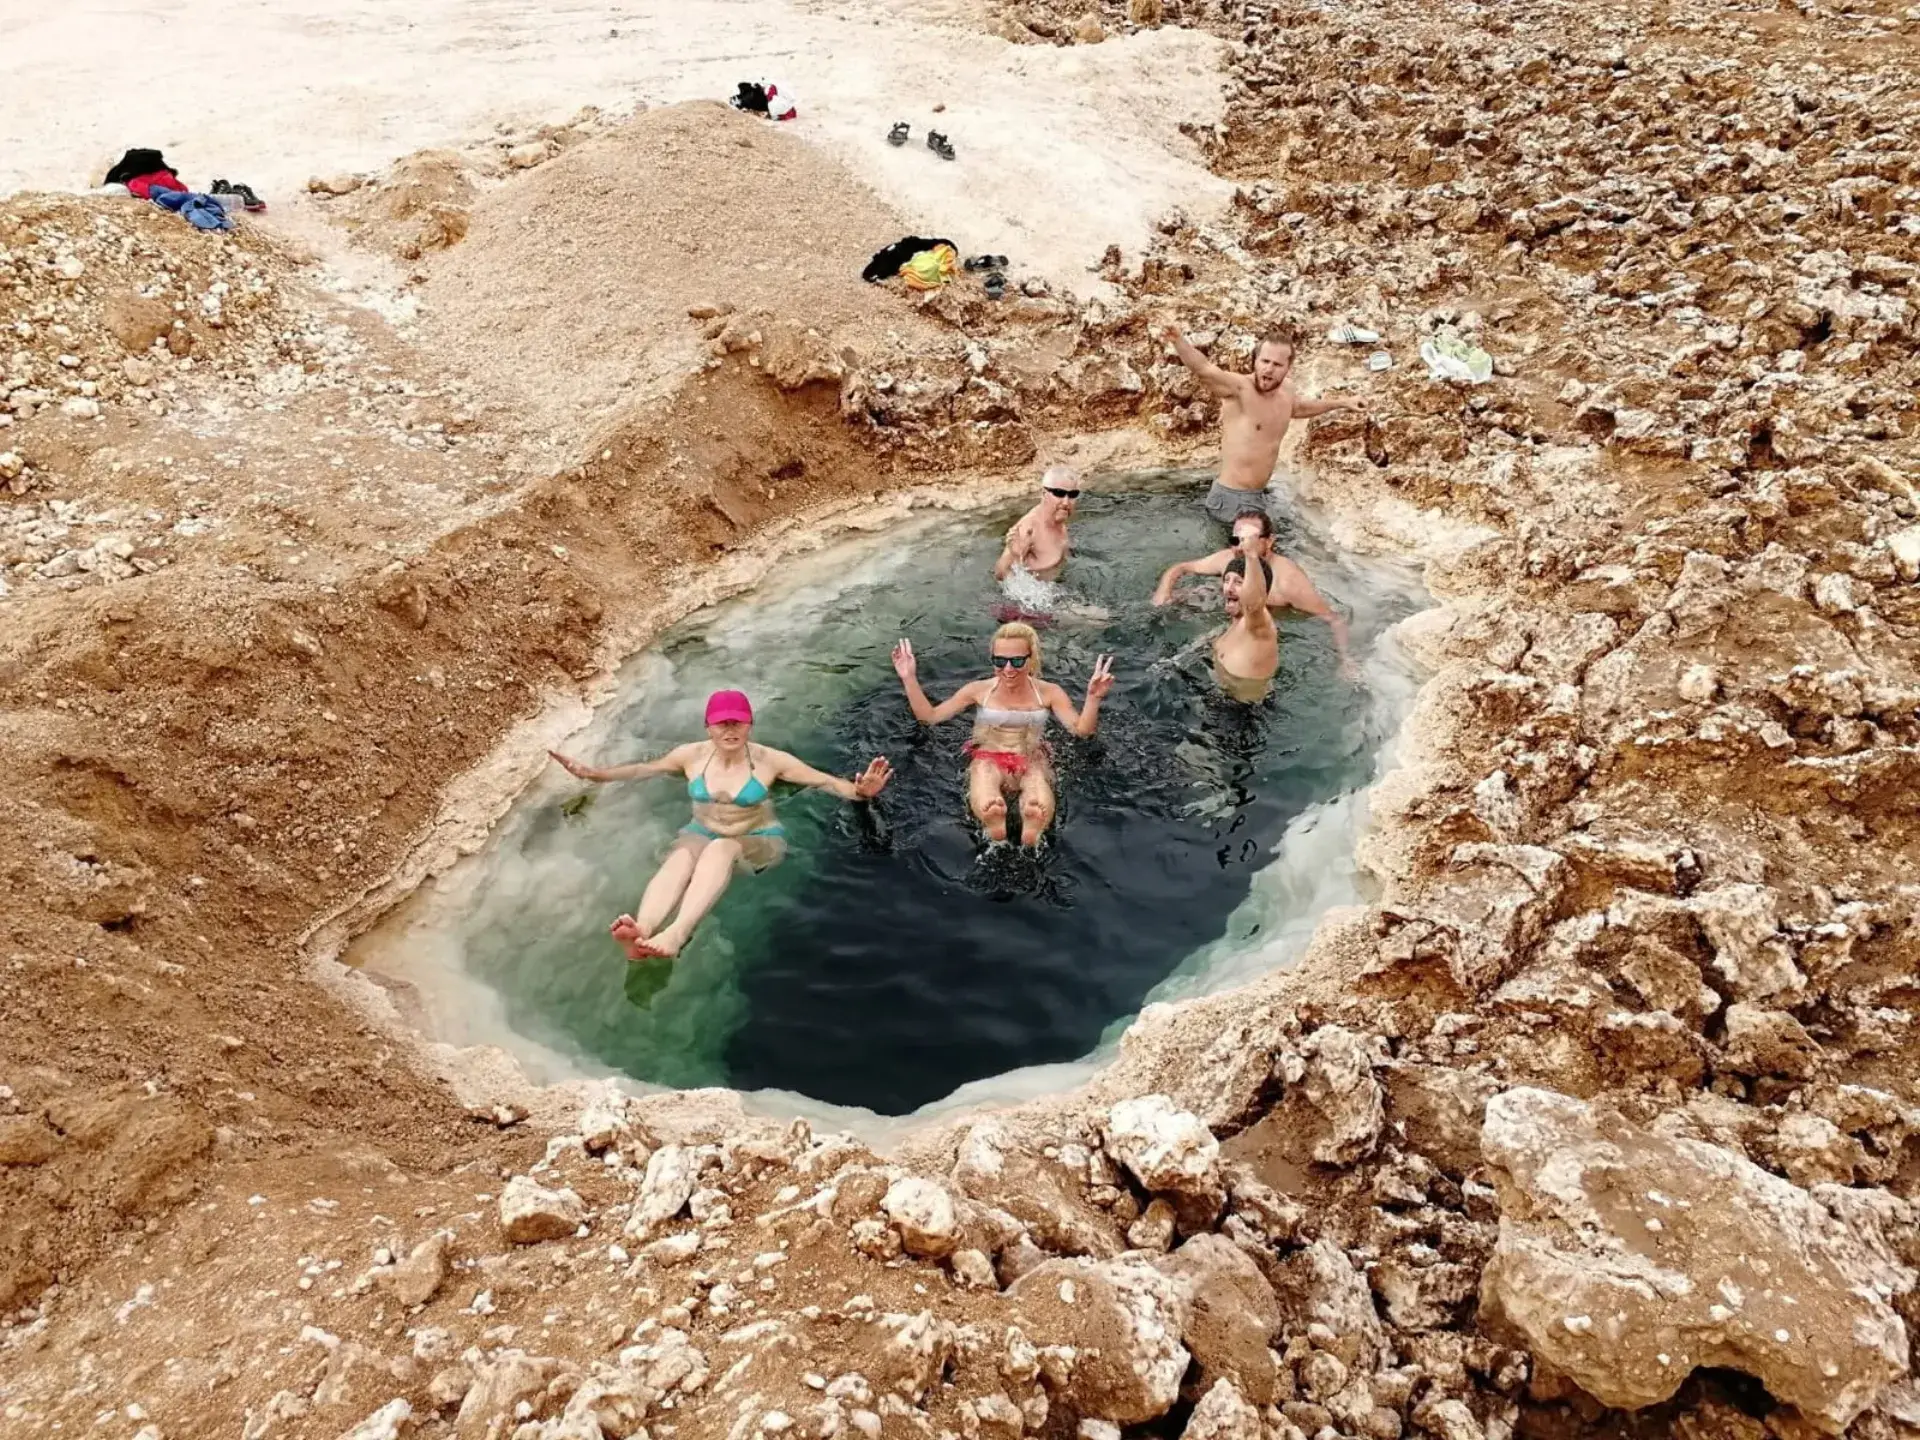
- Lagos de Agua Salada — Los lagos salados de Siwa (Birket Siwa y Zeitoun) ofrecen paisajes surrealistas y baños terapéuticos en agua rica en minerales
- Cultura Bereber y Artesanía de Siwa — Experimenta la auténtica hospitalidad siwi, bordados tradicionales, joyería de plata y aceite de oliva producido en los antiguos olivares de Siwa
Qué Hace Único a Siwa Oasis
A diferencia del resto de Egipto, Siwa nunca fue arabizada. El pueblo siwi habla una lengua bereber (siwi bereber) emparentada con los dialectos tuareg del Sahara. Su arquitectura — los edificios de varios pisos de kershef (roca de sal) — y sus tradiciones de joyería de plata y bordado son distintas de cualquier otra cultura egipcia. Esta autenticidad cultural, combinada con paisajes naturales de primer nivel, hace que un tour por Siwa Oasis sea una experiencia que se sitúa completamente al margen de un itinerario egipcio estándar.
Opciones de Tour por Siwa Oasis
- Fin de Semana en Siwa (2 Días) — Parte de Cairo el viernes por la noche o el sábado muy temprano, llega a Siwa por la tarde. Visita el Templo del Oráculo y Shali al atardecer. Día 2: safari por el Gran Mar de Arena, Fuente de Cleopatra y regreso a Cairo
- Inmersión Profunda en Siwa (3 Días) — Inmersión total: noche de campamento en el Gran Mar de Arena entre las dunas, amanecer en el Lago Zeitoun, Monte Dakrour, mercado local y una excursión más larga al Gran Mar de Arena
- Combinación Siwa + White Desert — Expedición transdesértica de 7+ días que une Siwa con el White Desert, el Black Desert y Bahariya Oasis — una odisea desértica completa por Egipto
Cómo Llegar a Siwa Oasis desde Cairo
Siwa está aproximadamente a 560 km al noroeste de Cairo — unas 6 horas en coche por la carretera costera mediterránea a través de Marsa Matruh. La forma más cómoda y recomendada es un tour guiado con transporte privado en 4x4. También hay servicio de autobús desde Cairo, pero los horarios y la comodidad son impredecibles. La mayoría de los tours a Siwa parten temprano por la mañana y llegan a última hora de la tarde, lo que permite explorar al atardecer el primer día.
Mejor Época para Visitar Siwa Oasis
La mejor época para un tour por Siwa Oasis es de octubre a abril, cuando las temperaturas diurnas son agradables (20–28 °C) y las noches son frescas. La primavera (marzo–abril) trae almendros y olivos en flor y un verde intenso sobre el telón de fondo desértico. Las visitas en verano son posibles pero calurosas (más de 40 °C); las actividades de primera mañana y tarde son manejables. El Festival anual de Shandaweel en octubre atrae a visitantes de todo Egipto.
Also explore: Western Desert Egypt Guide, White Desert Egypt, Desert Trekking Egypt, Camel Trek Egypt.
Preguntas Frecuentes
¿Cuánto está Siwa de Cairo?
Siwa está a aproximadamente 560 km de Cairo — unas 6 horas en coche privado por la carretera costera mediterránea a través de Marsa Matruh. Nuestros tours utilizan cómodos vehículos 4x4 con paradas en puntos costeros de interés.
¿Es seguro visitar Siwa Oasis?
Sí — Siwa es uno de los destinos más seguros y acogedores de Egipto. Se encuentra muy lejos de zonas de conflicto y lleva décadas recibiendo turistas internacionales. El pueblo siwi es conocido por su calidez y hospitalidad.
¿Qué moneda se usa en Siwa?
Libras egipcias (EGP). Hay cajeros automáticos en la ciudad de Siwa, pero el suministro puede ser irregular — recomendamos traer suficiente efectivo desde Cairo. Las tarjetas de crédito no se aceptan ampliamente en los comercios más pequeños.
¿Puedo bañarme en la Fuente de Cleopatra?
Sí — la Fuente de Cleopatra (Ain Guba) es una piscina natural abierta a los visitantes. El agua es clara, ligeramente efervescente y agradablemente fresca. Es una de las paradas más refrescantes de cualquier tour por Siwa Oasis.
¿Vale la pena el largo trayecto desde Cairo hasta Siwa Oasis?
Sin duda. Siwa ofrece una Egipto completamente diferente al Valle del Nilo — dunas desérticas, ruinas del antiguo oráculo y una cultura bereber viva. La mayoría de los visitantes que hacen el viaje lo califican como lo más destacado de su viaje a Egipto. El trayecto de 6 horas es pintoresco y se puede interrumpir con una parada costera.
¿Listo para explorar el oasis más extraordinario de Egipto? Explora nuestros tours por Siwa y reserva tu aventura en el desierto.
Explorar Tours por Siwa